Vray is an excellent rendering tool , the plugins that ship with vray can do pretty good job for most of the time but in order to extend vray functionality we can write custom vray plugins that can be integrated into Maya. In this post I am writing about the different methods through which we can create vray plugins and use them inside Maya.
1) Method 1 : Using Vray UI inside Maya :
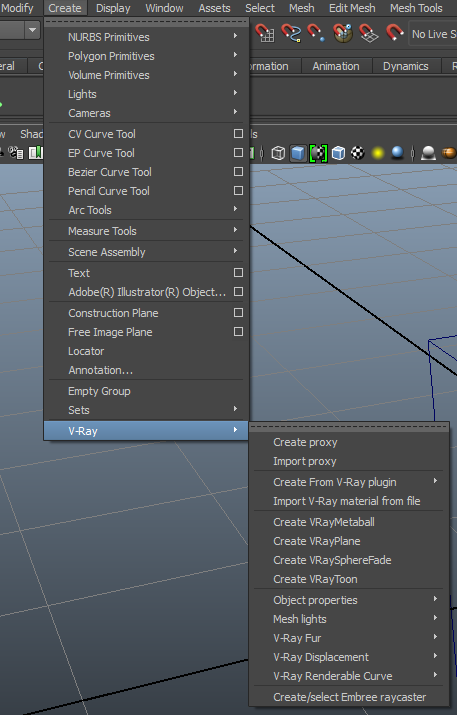
When Vray is installed in Maya, go to Create->Vray->Create from Vray Plugin .From here you will be able to access all the vray plugins that are shipped with vray. Remember that these vray plugins are built for vray standalone. yet because of the UI and the corresponding vrayformaya.mll file, we will be able to use all these plugins. Which is pretty awesome !!
2)Method 2 : Creating your own tools in visual studio and using python post translator
There is not much documentation on this and it was very hard initially to get information on this. But this is what it does. Assume you need a custom plugin which needs to be programmed in C++. If you check out your vray installation, it comes with visual studio sample files, these are extremely important for development of any kind of a plugin.
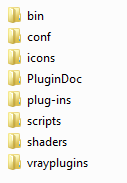
Open any of those visual studio project files and set up the environment and start writing your C++ plugins. Once the C++ plugin is compiled into a .dll file, the next big question is how do you tell maya to use this .dll file. Since this was a vray standalone plugin there is no way to have maya code embedded inside this. Before we go to the next step, place your .dll file into the below vray plugins folder.
Alright now that the plugin is placed , start Maya and observe the output window, if your vray plugin is set for Autoload in settings-preferences, they you can see that whenever vray plugin loads, it loads all the .dll files into maya, you can see this action in the output window. So, this means the vray plugin you compiled is now loaded. Congrats ! We should now tell Maya to use our plugin.
We should understand that once we hit the render button a .vrscene file is generated, this .vrscene is then feeded into vray.exe to compute the actual algorithm and give out the results. When the .vrscene is generated it takes in all the maya nodes and uses the vray for maya translator and gives out the appropriate .vrscene file. BUt this whole process does not know how to interpret the plugin that we compiled. This is when we use the Python post translator settings. You can find this tab in render settings -> Vray common (All the way at the bottom)
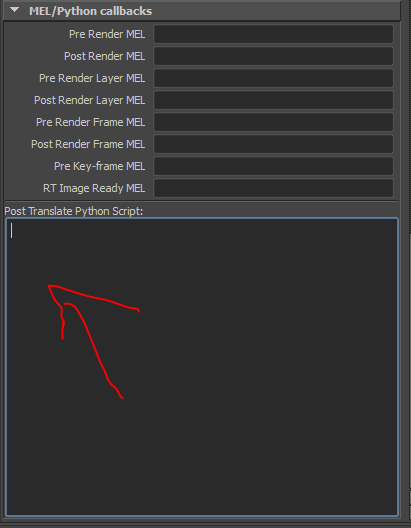
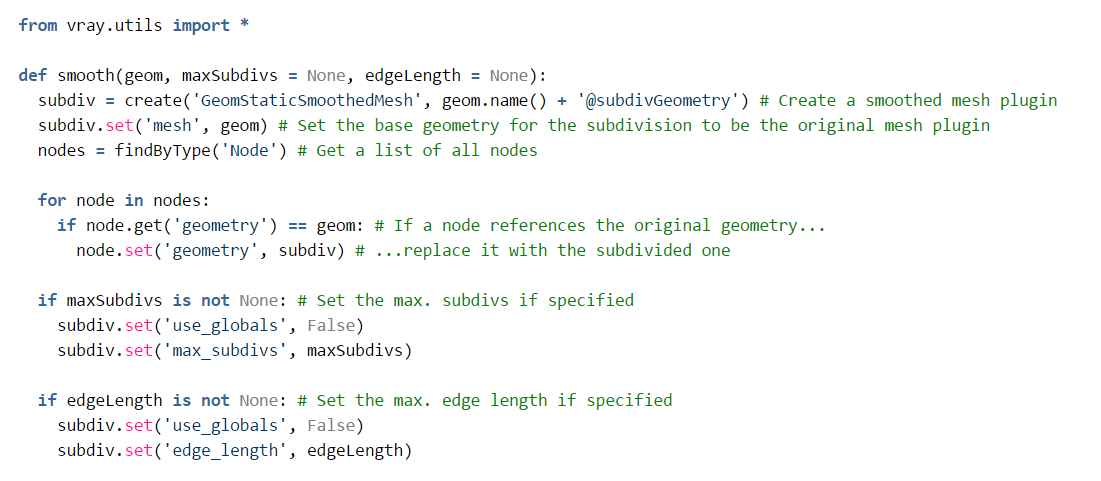
This is the place where all the magic happens. Vray maya translator goes through the whole scene and creates the .vrscene file right, with the post translator you can modify this .vrscene file before the actual rendering begins. So in this post translator script, we would create our vray plugin and set its attributes. Thats it ! The .vrscene will get modified and your custom vray plugin will be used.
To give you an example, assume in the .cpp file of your vray visual studio project, you have named your plugin “testing”
#define testing_PluginID PluginID(LARGE_CONST(1185227))
SIMPLE_PLUGIN_LIBRARY(testing_PluginID, EXT_RENDER_SETTINGS, "testing", "tetsing plugin for V-Ray", testing, tetsing_Params);
“testing” is the name of your plugin and assume you have attributes attribute1 and attribute 2. This is what you should do to create your plugin and set the attributes inside python post translator.
from vray.utils import *
tester = create("tetsing", "myTestNodeName")
tester.set("attribute1", 1)
tester.set("attribute2", 48.76)
That’s it guys ! Your plugin will now be recognized inside Maya and you can use it for rendering. Congrats !! . You can find more resources about the python post translator at http://docs.chaosgroup.com/display/VRAY3MAYA/Python+Access+to+the+Translated+V-Ray+Scene . Also while compiling your vray plugins , I would highly recommend that you use Vray docs http://help.chaosgroup.com/vray/help/maya/sdk22/
Post translator can be of huge help and unfortunately it has not been explained so well in the internet. I had a conversation on the exact working of the Vray and post translator. Here it is :
The exporter code is in VRay for Maya (vrayformaya.mll). This module will translate the maya scene to VRay scene (what you see as vrscene files, but it has also an internal representation without actually using a file). In fact you can get the VRay for Maya source code on request, but people use it mostly for reference. It’s too much work to extend it directly and then merge our changes, make custom builds, etc.
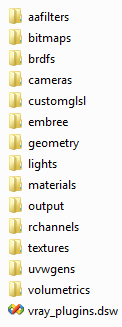
What you see in the vrayplugins folder are plugins for VRay itself, and have nothing to do with Maya. Most of these VRay plugins can be used in Maya via the Create -> VRay -> Create From VRay plugin menu. VRay for Maya creates a node for them in the Maya scene, translates the plugin parameters to Maya attributes and exports these nodes automatically when you render. There are different types of VRay plugins, and we support most of them (like brdfs, lights, textures, volumetrics) but cameras are still missing there.
There are other people that have used the Python workflow. You can use it to do this export step manually. The Python post translate script is triggered right after the “translation” to VRay scene is finished (i.e. vrayformaya.mll has exported all nodes that we support), and lets you edit the result. So you can create a new instance of any VRay plugin and set it’s parameters (the create(pluginType, pluginName) and set(self, paramName, value) functions)
It’s better to use your own scripts to add extra attributes to the Maya camera. If you reuse our .txt files, they will be overwritten next time you install VRay. So basically what you must do is ignore the fact that you use VRay for Maya. You are creating a plugin for VRay, and the only Maya connection you have is that in this post translate python script, you can read Maya attributes.